Enabling Two-Factor Authentication (2FA) in cPanel is an excellent way to enhance security for your account. Here’s a step-by-step guide:
Table of Contents
Steps to Enable Two-Factor Authentication in cPanel:
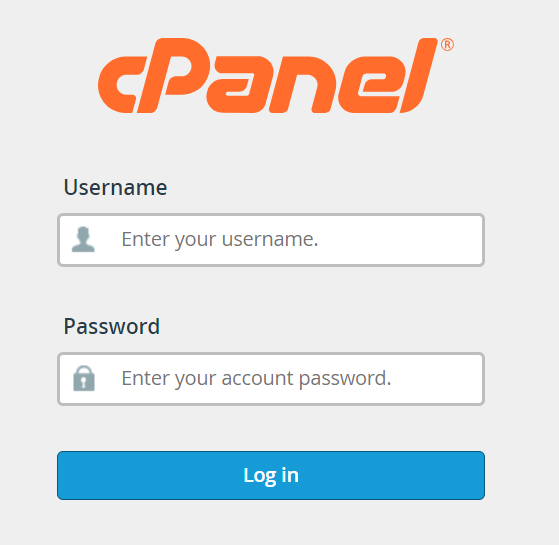
Log in to cPanel

Access your cPanel by logging in with your username and password.
Navigate to the Security Section

Once logged in, scroll down and find the Security section. Under this section, click on Two-Factor Authentication.
Set Up Two-Factor Authentication
In the 2-Factor Authentication interface, click on Set Up 2-Factor Authentication. This will open the setup process.
Scan the QR Code
- Use a 2-factor authentication app on your mobile device, such as Google Authenticator or Authy, to scan the QR code.
- If you cannot scan the QR code, you can manually enter the Account and Key provided by cPanel into the authenticator app.
Enter the Code
After scanning the QR code or entering the key into the authenticator app, the app will generate a six-digit verification code.

- Enter this code into the field labeled “Security Code” on the cPanel 2-Factor Authentication page.
- Click Configure Two-Factor Authentication.
Success!
If the code is correct, you will see a message indicating that the setup was successful. 2FA is now enabled on your cPanel account.
Next Time You Log In:
When logging in, after entering your username and password, you’ll also be prompted to enter the verification code generated by your 2FA app.
Important Tips:
- Make sure to keep a backup of your 2FA recovery codes in case you lose access to your authenticator app.
- If you’re an admin, you can enable 2FA for all users from WHM by navigating to Security Center > Two-Factor Authentication.