What is DirectAdmin
DirectAdmin is a web-based control panel used for managing web hosting services on servers. It is designed to make the management of websites, email accounts, databases, and other hosting features user-friendly and accessible through a graphical interface. Here are some key features and benefits of DirectAdmin
Table of Contents
Key Features
- User Management:
- Admin, Reseller, and User Levels: DirectAdmin has three access levels, each with its own set of features and permissions:
- Admin Level: Full control over the server, including all users, resellers, and server settings.
- Reseller Level: Manages their own users and resources, can create and manage user accounts.
- User Level: Basic level for managing individual websites, email accounts, and databases.
- Admin, Reseller, and User Levels: DirectAdmin has three access levels, each with its own set of features and permissions:
- Domain Management:
- Easily add, remove, and manage domains and subdomains.
- Support for domain pointers and domain aliases.
- Email Management:
- Create and manage email accounts, forwarders, autoresponders, and mailing lists.
- Spam filtering and email account quotas.
- File Management:
- Web-based file manager for uploading, downloading, and managing files.
- Support for FTP accounts.
- Database Management:
- Create and manage MySQL databases and users.
- phpMyAdmin integration for advanced database management.
- DNS Management:
- Full control over DNS settings for domains.
- Add, edit, and remove DNS records.
- Security Features:
- SSL certificate management, including Let’s Encrypt support.
- IP blocking, brute force attack monitoring, and firewall management.
- Backup and Restore:
- Create and schedule backups of websites, databases, and email accounts.
- Easy restore options for backed-up data.
- Customizable Interface:
- Skinning and branding options to customize the look and feel of the control panel.
- Automation and Integration:
- API access for automation and integration with other systems.
- Support for third-party plugins and scripts to extend functionality.
How to install WordPress in DirectAdmin
Step 1: Login to DirectAdmin
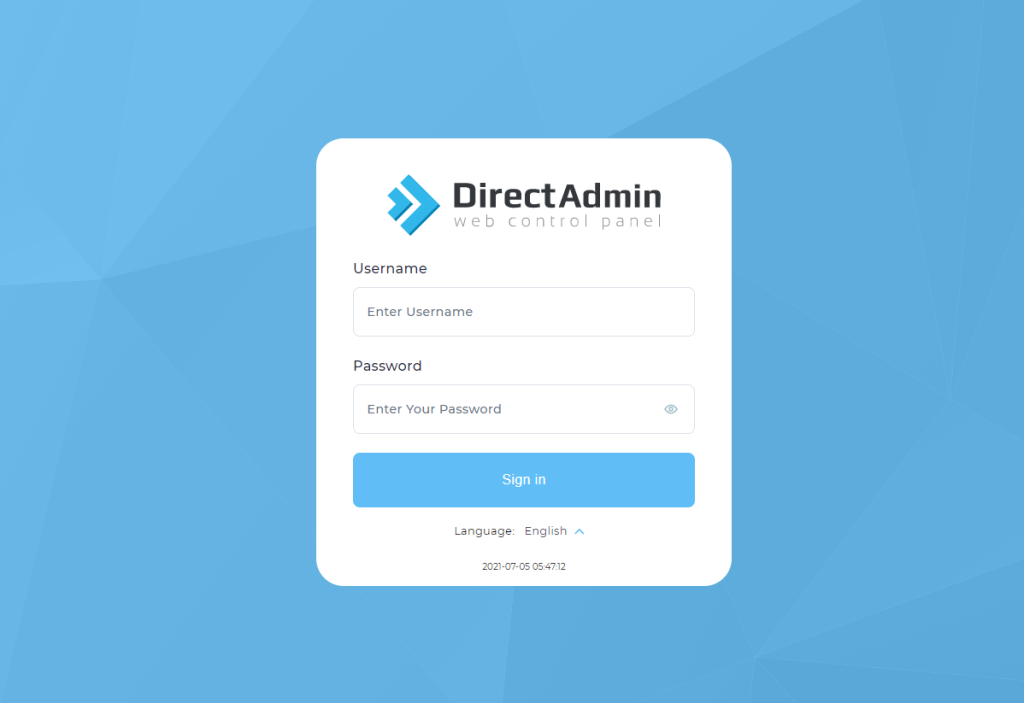
- Access DirectAdmin: Open your web browser and navigate to your DirectAdmin login page.
- Login: Enter your username and password to log in to your DirectAdmin control panel.
Step 2: Create a Database
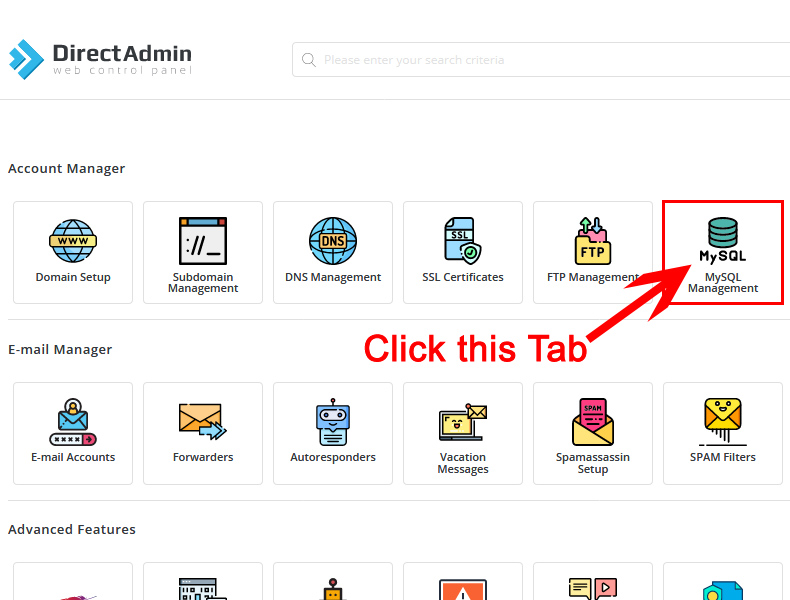
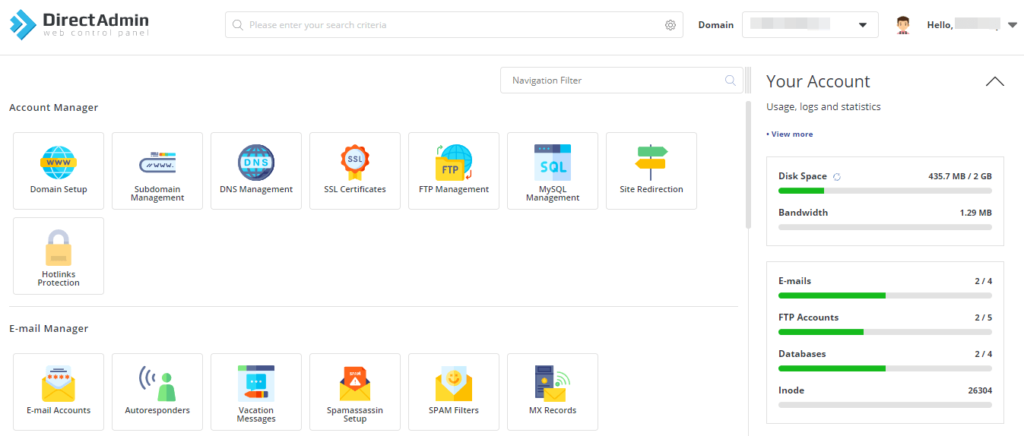
- Navigate to MySQL Management:
- In the DirectAdmin control panel, find and click on “MySQL Management” under the “Account Manager” section.
- Create a New Database:
- Click on “Create new Database.”
- Fill in the fields for the database name, database user, and password. Note these details as you will need them later.
Step 3: Download WordPress
- Go to the WordPress Website:
- Visit the WordPress.org download page.
- Download WordPress:
- Click the download button to get the latest WordPress zip file.
Step 4: Upload WordPress Files
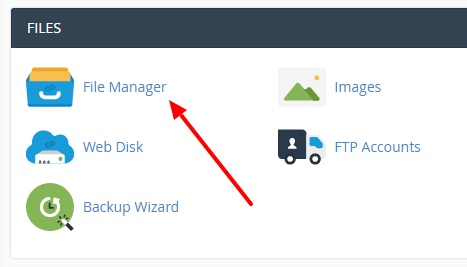
- Navigate to File Manager:
- In DirectAdmin, go to the “File Manager” under the “System Info & Files” section.
- Upload the WordPress Zip File:
- Navigate to the
public_htmldirectory or the directory where you want to install WordPress. - Click “Upload files to current directory.”
- Select the WordPress zip file you downloaded and upload it.
- Navigate to the
- Extract the Files:
- Once the upload is complete, select the zip file and click on “Extract.”
Step 5: Configure WordPress
- Open Your Domain in a Web Browser:
- Go to your domain (e.g., http://yourdomain.com) where you uploaded the WordPress files.
- Run the WordPress Installation Script:
- You should see the WordPress installation setup screen. Click “Let’s go!”
- Enter Database Details:
- Database Name: Enter the database name you created.
- Username: Enter the database user you created.
- Password: Enter the database password.
- Database Host: Usually
localhost. - Table Prefix: You can leave this as
wp_unless you want to change it. - Click “Submit.”
- Run the Installation:
- Click “Run the installation.”
- Complete the Setup:
- Enter your site title, admin username, password, and email address.
- Click “Install WordPress.”
Step 6: Log in to WordPress
- Go to the WordPress Login Page:
- After the installation is complete, you can log in to WordPress by going to
http://yourdomain.com/wp-admin.
- After the installation is complete, you can log in to WordPress by going to
- Enter Your Credentials:
- Use the admin username and password you set during the installation to log in.
Alternative Method: Using Softaculous
If Softaculous is available on your DirectAdmin panel, you can install WordPress even more easily:
- Login to DirectAdmin:
- Access your DirectAdmin control panel.
- Open Softaculous:
- Find the Softaculous Auto Installer icon and click on it.
- Select WordPress:
- In Softaculous, find and select WordPress.
- Install WordPress:
- Click on the “Install” button.
- Fill in the required details such as site name, admin username, and password.
- Click “Install” to complete the installation.