Updating an A record in Webuzo is straightforward and lets you manage the IP address associated with your domain or subdomain. Here’s a step-by-step guide:
Step 1: Log into Webuzo
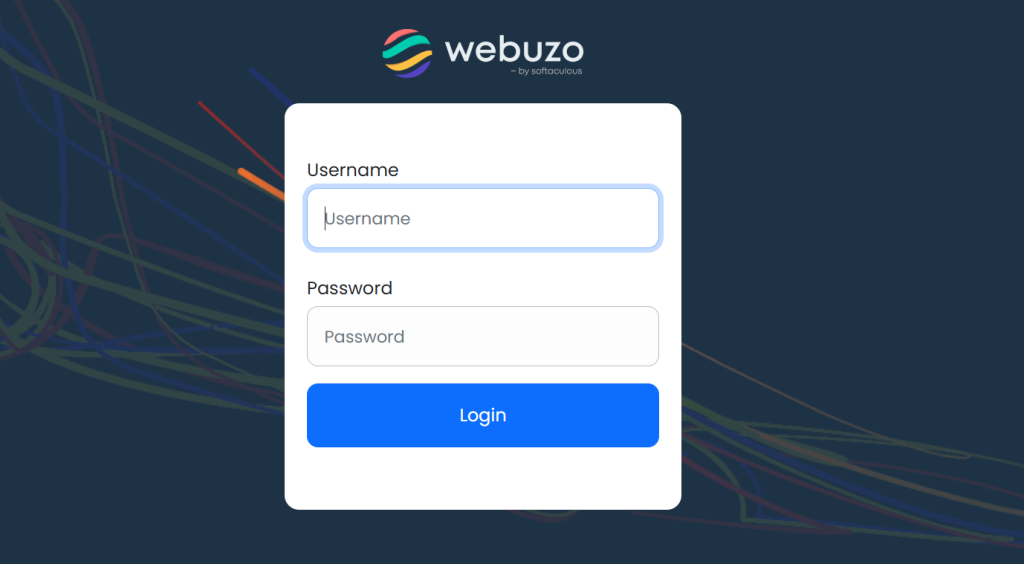
- Open your Webuzo control panel. This is usually accessible by adding
:2002to your domain (e.g.,http://yourdomain.com:2002). - Enter your Webuzo username and password to log in.
Step 2: Go to DNS Settings
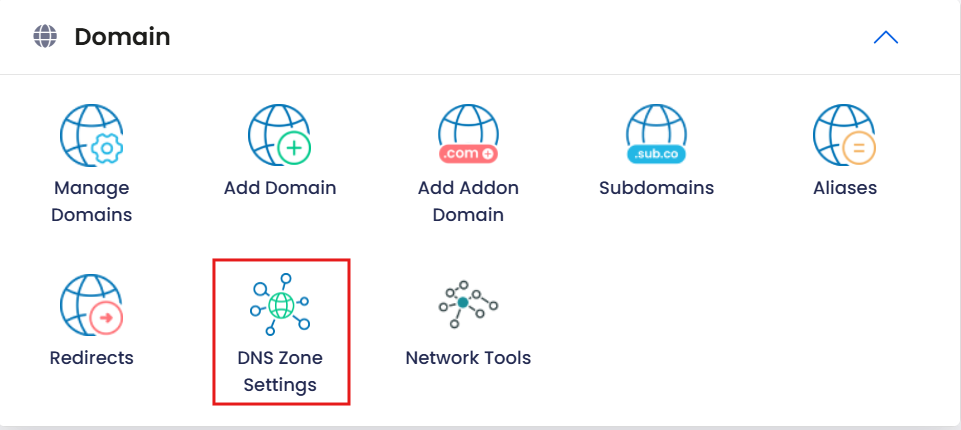
- Once logged in, look for the DNS Zone Settings option, typically located in the Server Settings section.
- Click on DNS Zone Settings to view all your DNS records.
Step 3: Locate the A Record
- In the DNS Zone Settings, locate the A record you want to update. If you’re changing the main domain’s IP, it will usually be under the “@” or the domain name itself.
- For subdomains, the A record might have the subdomain name listed.
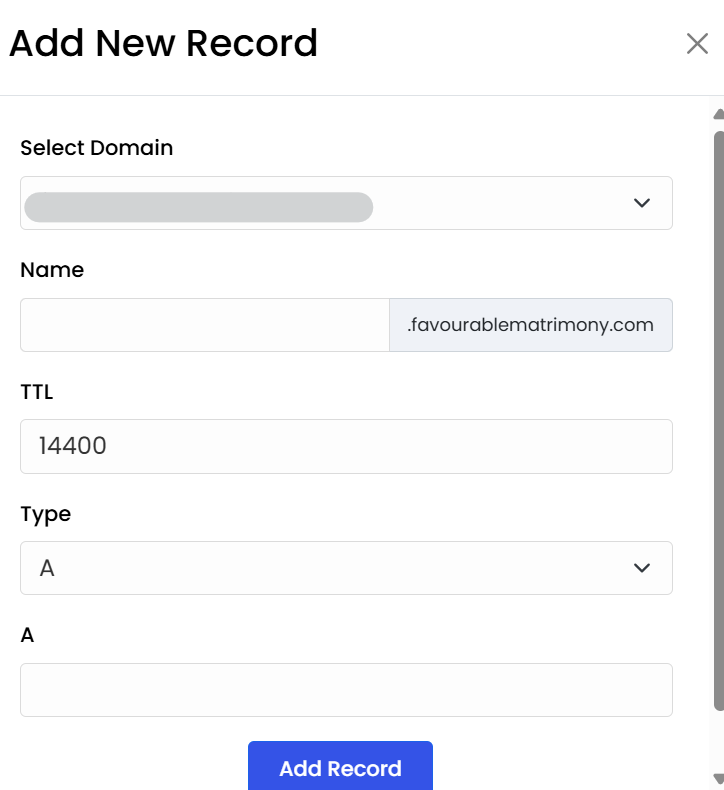
Step 4: Update the IP Address

- Click Edit next to the A record you want to change.
- Update the IP Address field with the new IP address you want to assign to this record.
- Click Save or Update to confirm the changes.
Step 5: Allow for Propagation
After updating the A record, DNS changes usually take some time to propagate across the internet. This process can take anywhere from a few minutes to up to 24 hours, depending on your DNS settings and the network.
That’s it! Your A record is now updated in Webuzo. If you run into any issues, try clearing your DNS cache or using an online DNS checker to confirm the changes have propagated.